Hermes Day One for Mac
Four guided tracks for Mac: Nous, ChatGPT/Codex, Anthropic, and local Ollama.
Choose a different operating system.
Loki’s Lab
We’re going to install Hermes, connect one model provider, and make a small file we can open ourselves. Choose one track today. We can explore the others later.
Hermes is the assistant that organizes the work and uses tools. The model is the AI it asks for help. Installing Hermes on our computer does not automatically put the model there: tracks 1–3 use hosted services; track 4 runs a downloaded model through Ollama.
Choose your track
| Track | What we need | Where the model runs |
|---|---|---|
| 1. Nous account | Nous Portal account with model access | Hosted through Nous Portal |
| 2. ChatGPT or Codex login | OpenAI account accepted by the Codex login flow | OpenAI |
| 3. Anthropic | Claude Console API key and API billing | Anthropic |
| 4. Local model through Ollama | Ollama, a downloaded model, and enough memory | Our computer |
Start here: Install once → choose a track above → First working task.
Already installed? Go straight to your track. Stuck? Jump to Troubleshooting. Returning tomorrow? Use the Command cheat sheet.
Before we begin
- Have a browser, an internet connection for downloads/sign-in, and permission to install software on this computer.
- Open Terminal from Applications → Utilities. Check Apple menu → About This Mac for your macOS version, chip, and memory. This lane targets Apple Silicon: Hermes currently lists Intel Macs as unsupported. If yours says Intel, use a supported Linux/Windows computer for this lesson. Hermes platform support. Commands below go in Terminal, not into an AI chat.
- Have the account for your chosen track ready. Pause screen sharing while entering passwords, login codes, payment details, or API keys.
- For Ollama, finish the model download before the live session if possible. Model memory needs include more than the download’s file size.
We’ll use a fresh practice folder and a harmless packing list. That folder is a convenient place to work, not a sandbox that prevents access elsewhere. Read any proposed actions before approving them.
Install once
All four tracks use the same Hermes installation. Choose one method.
Option A: Desktop download
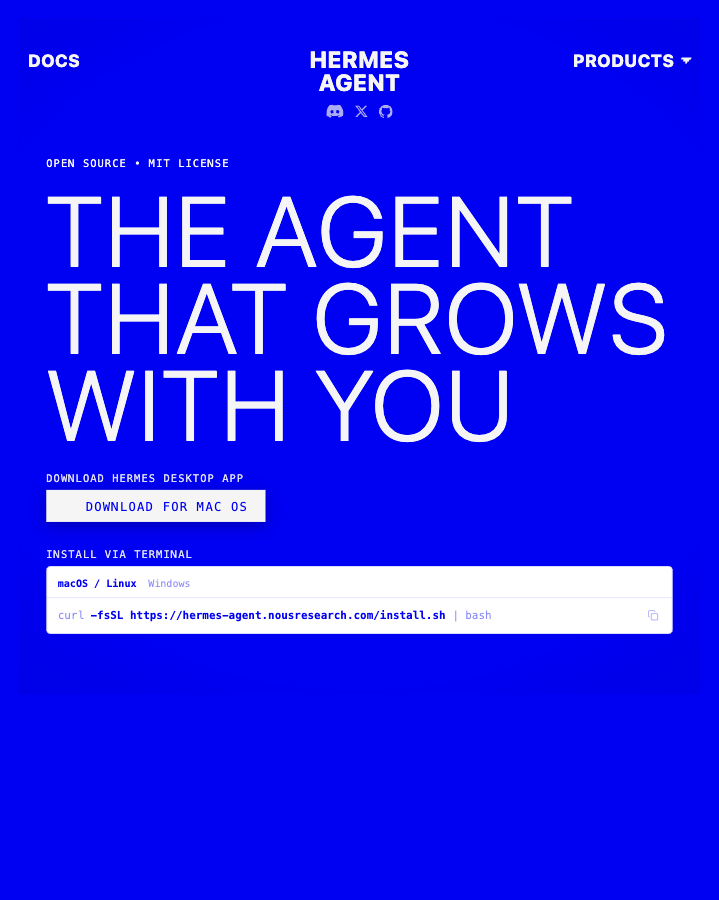
- Open the official Hermes download page.
- Choose the Mac installer that matches your computer and complete its prompts.
- Open a fresh Terminal window. The installer includes the command-line app, which we use below.
Option B: Terminal installation
Check Git:
git --version
If macOS offers to install developer tools, complete that prompt and retry. Then install Hermes:
curl -fsSL https://hermes-agent.nousresearch.com/install.sh | bash
This downloads and runs the official installer. Follow its prompts, then open a fresh Terminal window. Mac installation reference.
Confirm installation
hermes --help
Checkpoint: Hermes prints command help. If the command is missing, reopen the terminal once more and check the installer’s final messages.
If onboarding opens automatically, use your chosen track below. On versions where Quick Setup is specifically Nous Portal, choose Full Setup for another provider. We can defer messaging and optional integrations. The wizard can be reopened with hermes setup; model configuration is available through hermes model. Setup modes.
Track 1: Nous account
Our route: install → sign into Nous Portal → select a model → try a task.
- Complete Install once.
- Open Nous Portal and create an account or sign in. Check subscription access and current terms before committing to a plan. Creating a login alone does not establish paid model access.
- For a fresh setup, run:
hermes setup --portal
- Follow the browser authorization instructions. Return to the terminal when sign-in finishes.
- Pick an available model suited to tool use from the current list. We do not need to choose a model called “Hermes” just because the app is called Hermes.
This setup also enables the Nous Tool Gateway. Its hosted tools and model access use the Portal service; available features depend on the subscription. The Portal documentation specifically distinguishes Hermes 4 chat models from models recommended for agent work. Nous Portal setup and model guidance.
Already configured? Use hermes model to select Nous rather than repeat fresh onboarding.
Checkpoint: open hermes and check that its displayed provider/model matches your selection. Then complete First working task.
Track 2: ChatGPT or Codex login
Our route: install → authorize with OpenAI → select an available Codex model → try a task.
- Complete Install once.
- Run:
hermes model
- Choose ChatGPT or Codex Subscription; some versions label this OpenAI Codex.
- Open the URL Hermes provides, enter its device code when requested, and sign into the intended OpenAI account.
- Return to Hermes, choose an available model, and save the selection.
A separate Codex CLI installation is unnecessary. OpenAI API is a different credential route; choose the subscription entry for this walkthrough. Hermes documents this login, but its provider page does not fully specify eligible plans or how every plan’s quota is consumed. Check access in the actual login flow; we do not promise that every ChatGPT account works. Hermes Codex authentication notes.
Checkpoint: the startup display shows the intended provider/model and a short prompt gets a reply. Continue to First working task.
Track 3: Anthropic
Our main route: install → create a Claude Console API key → connect Anthropic → try a task.
- Complete Install once.
- Open the Claude Console and complete account/workspace setup. Check API billing and set an appropriate spending limit before the exercise.
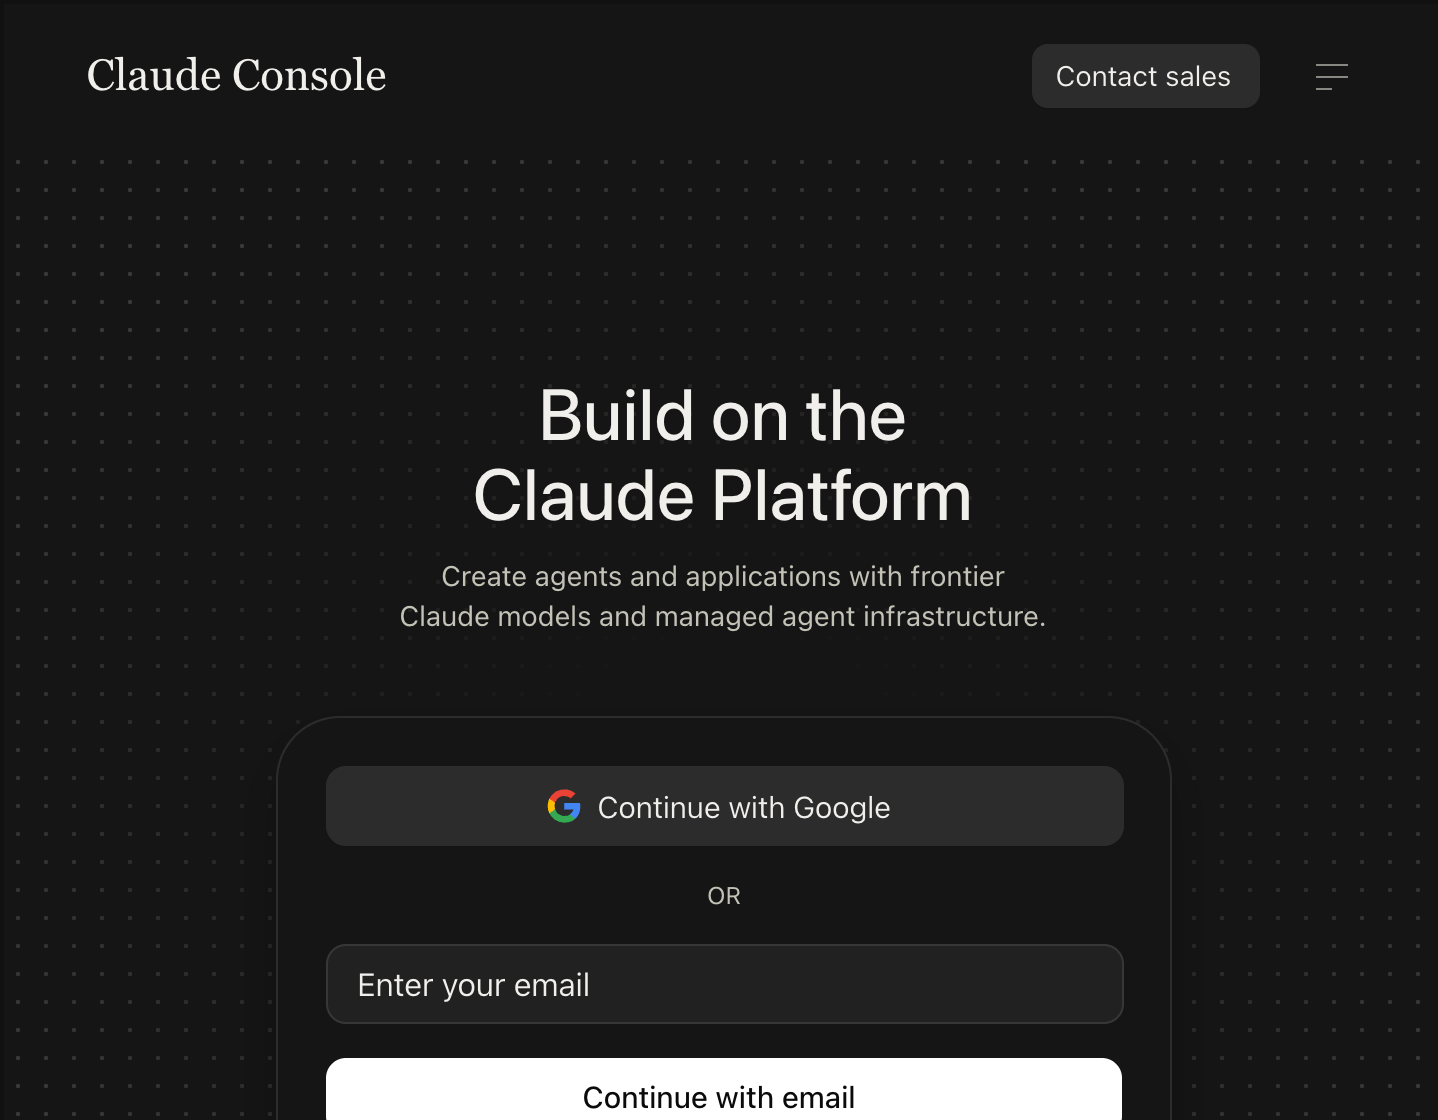
- In Settings → API keys, create a key for this experiment. If workspace scoping is offered, scope it to the intended workspace. Copy it privately. Anthropic key instructions.
- Run:
hermes model
- Select Anthropic, choose the API key authentication option, and paste the key only into the credential prompt.
- Choose a Claude model available to that API account and save.
API requests are metered separately from a Claude chat subscription. Claude API getting started.
If we want a Claude login instead
Hermes also lists Anthropic OAuth in hermes model. Its documentation currently describes Max plus purchased extra usage. Anthropic’s separate Agent SDK notice describes a paused billing change and different subscription behavior. These pages do not establish the same entitlement for this Hermes connection. Treat account-login eligibility and billing as requiring verification, and use the API-key route for this lesson. Hermes Anthropic notes, Anthropic’s SDK notice.
Checkpoint: Hermes replies using the chosen Anthropic model. Check the Console’s usage view after the exercise; reporting may lag. Complete First working task.
Track 4: Local model through Ollama
Our route: install Hermes → install Ollama → download a model → connect the local endpoint → try a task.
1. Install Ollama and choose a model
Complete Install once, then download Ollama for Mac, install it, and open it.
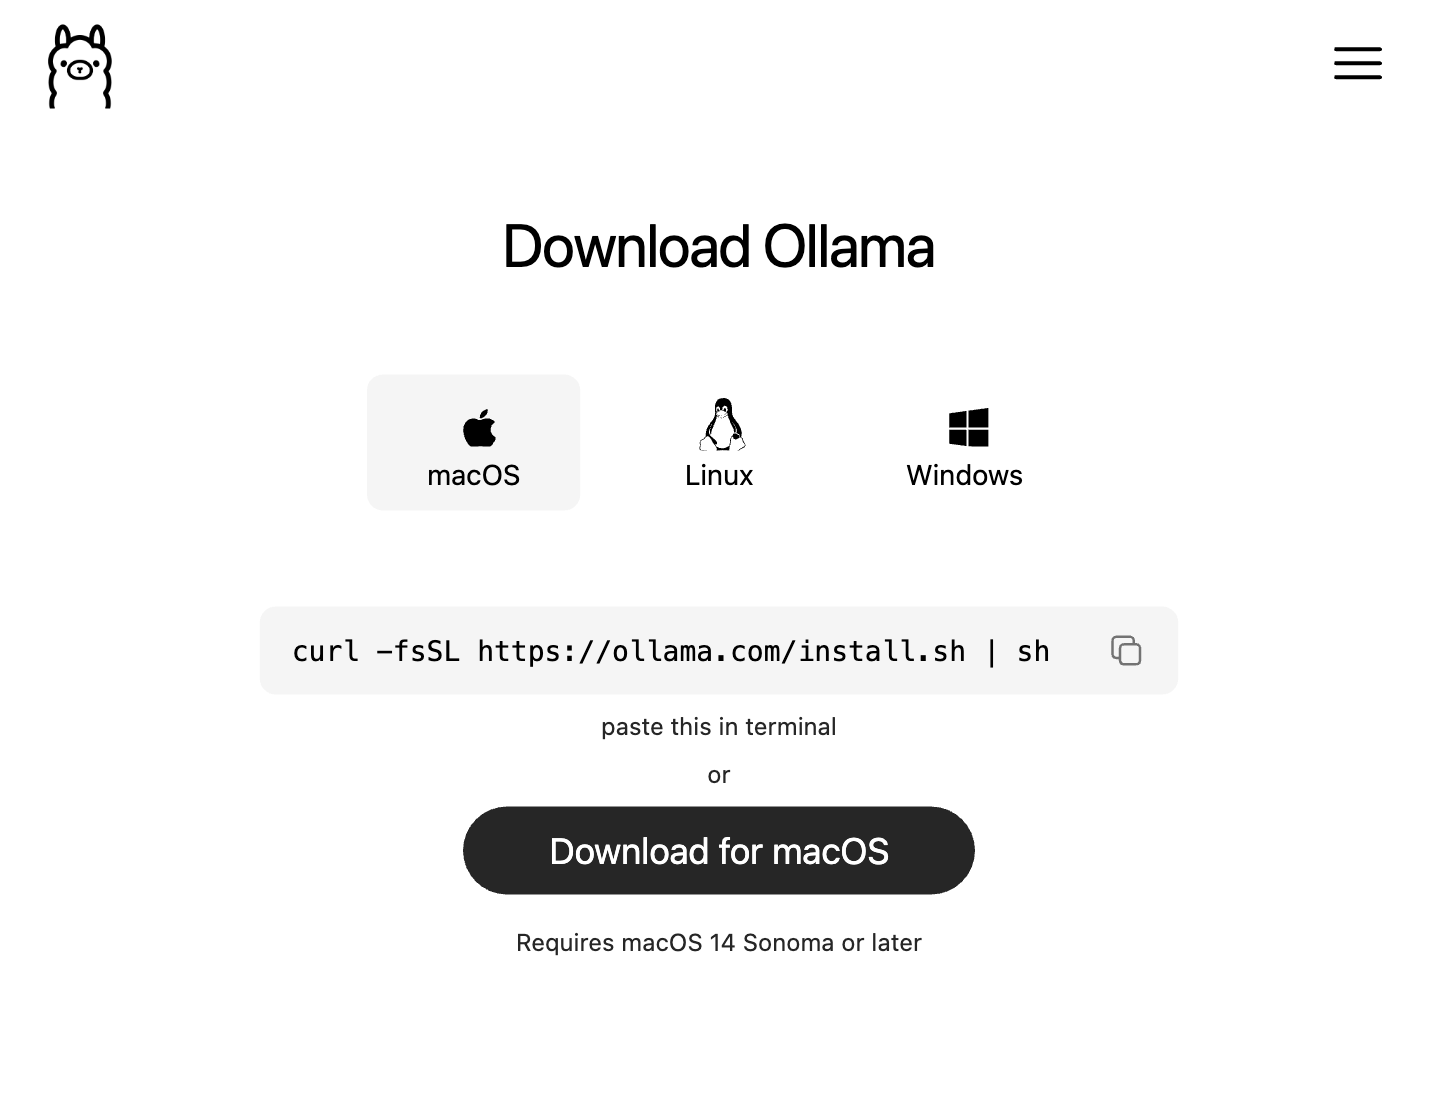
This Hermes lane is for Apple Silicon. Ollama currently requires macOS 14 or later and supports CPU/GPU execution on Apple M-series Macs. Check the current Mac requirements.
In a fresh terminal:
ollama --version
We use qwen3.5:9b as a concrete example, not a guarantee of fit on every computer. Its current Ollama listing advertises tool support and a roughly 6.6 GB download; runtime memory and long context require additional headroom. If uncertain, check your computer’s available memory before downloading. Model listing.
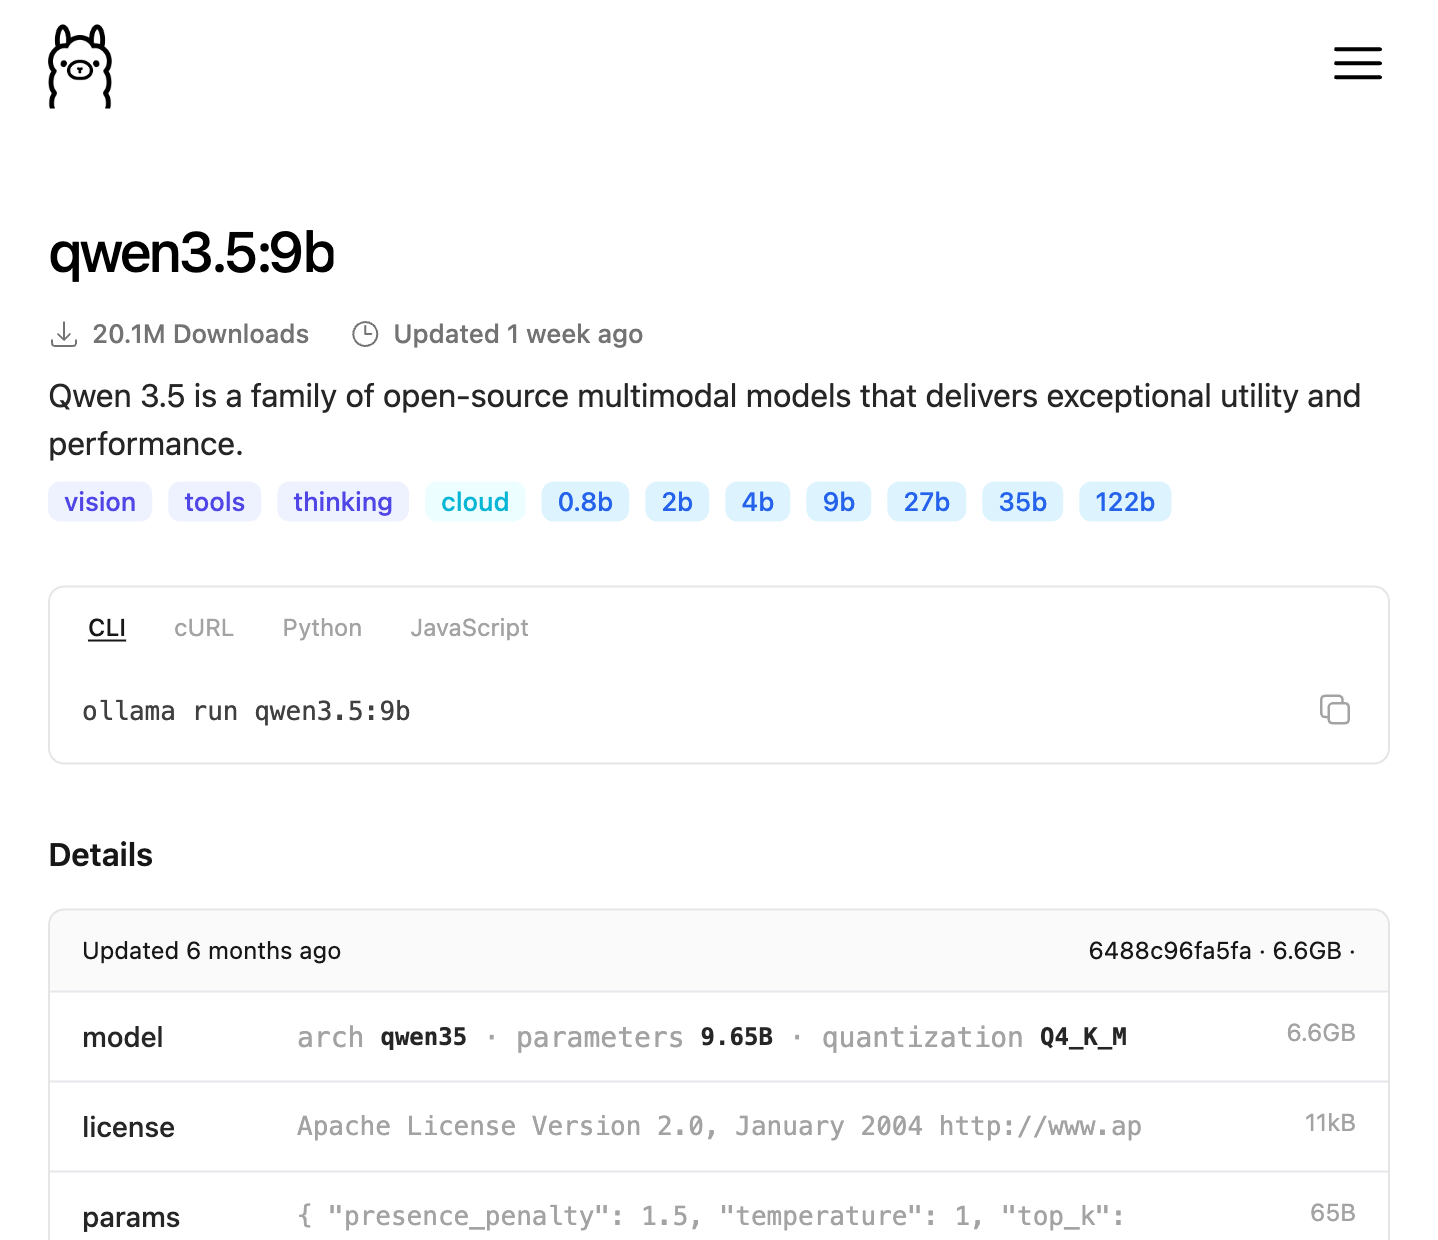
ollama pull qwen3.5:9b
2. Give the model enough working space
Hermes currently specifies a minimum context of 64,000 tokens. Context is the information a model can work with at once. We use 65,536 below. A larger context uses more memory; a model that fits for a short Ollama chat may still be too large for this exercise. Hermes requirement, Ollama context guidance.
Run this block in Terminal to create the model configuration in its own folder. It writes a file named Modelfile:
mkdir -p ~/hermes-day-one-model
cd ~/hermes-day-one-model
cat > Modelfile <<'EOF'
FROM qwen3.5:9b
PARAMETER num_ctx 65536
EOF
Then run:
ollama create loki-hermes-local -f Modelfile
ollama run loki-hermes-local
Ask it to say hello. Type /bye to leave the Ollama conversation. This named configuration keeps the chosen context setting with the model. Ollama Modelfile reference.
3. Connect Hermes
Run:
hermes model
Choose Custom Endpoint, sometimes under More providers, and enter:
| Field | Value |
|---|---|
| API base URL | http://127.0.0.1:11434/v1 |
| API key | Leave blank for local Ollama |
| Model | loki-hermes-local |
| Context length, if requested | 65536 |
The Hermes field must reflect the context Ollama actually serves; setting only the Hermes field does not enlarge Ollama’s context. If asked for an API format, use OpenAI-compatible chat completions. Ollama’s Hermes integration, OpenAI-compatible context setup.
Alternative shortcut: recent Ollama versions offer ollama launch hermes. It can handle installation and provider selection. Choose a downloaded local model, such as the configured loki-hermes-local, and skip optional messaging. The selector also offers cloud models, so the word “Ollama” alone does not mean local. Launcher instructions.
4. Verify local inference
Start Hermes and send a short prompt. While it is responding, run this in a second terminal:
ollama ps
Look for the model loaded locally and a context of at least 64,000. Check the processor column for CPU/GPU placement. Ollama runtime checks.
Checkpoint: Hermes responds, its selected endpoint/model is local, and Ollama shows the running model. Proceed to First working task.
Local inference avoids a hosted-model API bill for those calls. Online search, connected services, auxiliary models, and fallback providers can still use the network or hosted services. Keep those out of our first task; a local main model alone is not an offline guarantee.
First working task
Every track finishes with the same small exercise. We check the actual file, not just the assistant’s claim that it created one.
1. Open a practice folder
In Terminal, make and enter a new practice folder:
mkdir ~/hermes-day-one-practice
cd ~/hermes-day-one-practice
If that folder already exists, use a new folder name. In Finder, Go → Go to Folder lets us open ~/hermes-day-one-practice to inspect the result.
Start the assistant:
hermes
Confirm the displayed provider and model. Ask:
Explain what you can help me do in three short sentences. Use everyday language. Do not use tools for this answer.
2. Create one file
Paste this into the Hermes conversation:
Create packing-checklist.md in the current practice folder with exactly these items: charge the laptop, pack the charger, bring headphones. Use Markdown checkboxes. Do not read other folders, use the internet, install anything, or change existing files. Show me the saved path.
Review any tool approval. Open the saved file in Finder and check all three items.
3. Make one revision
Change the heading to “Ready for Loki’s Lab.” Keep the three checklist items exactly as they are. Show me the saved path.
Reopen the file and confirm the heading changed. If Hermes only prints text without saving it, ask what blocked the write and check its file-tool access.
Our day-one finish line
- Hermes opens successfully.
- We know which provider and model we selected.
- We understand whether the connection uses hosted billing or local inference.
- A prompt gets an answer, and a follow-up works.
- The packing file exists and its revision is correct.
- We know how to reopen Hermes and where to find this guide.
Command cheat sheet
In Terminal, outside a Hermes conversation:
| Command | Purpose |
|---|---|
hermes |
Start a conversation |
hermes model |
Configure a provider, login, or model |
hermes setup |
Reopen setup |
hermes tools |
Adjust available tools |
hermes doctor |
Diagnose the setup |
hermes --continue |
Return to the latest session |
hermes update |
Update Hermes |
Inside the Hermes conversation:
| Command or key | Purpose |
|---|---|
/help |
See available commands |
/model |
Switch among configured models/providers |
/tools |
Inspect available tools |
Ctrl+C |
Interrupt the current work |
Ctrl+D |
Exit the terminal chat |
The terminal’s hermes model configures connections; the chat’s /model is for switching configured choices. CLI reference.
Troubleshooting
| What we see | Our next check |
|---|---|
hermes is not found |
Open a fresh terminal; inspect the installer’s final instructions and any error. |
| Sign-in succeeded but chat fails | Recheck the selected provider/model and account access with hermes model. A login is not proof of model entitlement. |
| An expired login or invalid credential | Repeat the provider’s login/key setup; do not post the credential in chat or a screenshot. |
| A quota or billing error | Check the account’s usage/billing page and the route chosen. Reinstalling does not restore quota. |
| Ollama connection refused | Open Ollama and leave it running. Check that both programs are in the same OS environment. |
| Ollama model not found | Use ollama list and copy the exact name into Hermes. |
| Context too small | Verify both the Modelfile setting and Hermes context setting; check the loaded model with ollama ps. |
| Local response is very slow | Allow for first-load delay, check available memory and processor placement, and close heavy apps. Ask for help selecting a smaller tool-capable model that still meets the context requirement. |
| Text appears but no file exists | Check the returned path and file tools. Repeat the tiny file exercise before adding more integrations. |
If unresolved, run hermes doctor and include the error text, operating system, provider, model, and failed step when asking for help. Remove keys and login codes. Hermes troubleshooting, Local Ollama guide.
Keep this guide current
Bookmark this page. Model catalogs, menu labels, installer support, and account policies change. Use the linked official instructions when a screen differs; do not substitute an unfamiliar credential route just to get past a prompt.
Before updating Hermes, preserve your settings and work using the current backup instructions. Update between sessions, then repeat the short reply and packing-file exercise. Updating and backup guidance.